Improve phone video quality at the source
Start with a small recording test, not a long take. Wipe the lens, choose a steady position and check the subject on the screen. Look for bright windows behind a dark face, a finger near the lens and reflections you did not intend to include. Watch the test with sound before recording the full scene.
Keep the original camera file. When you compare versions, use the same moment and viewing size. A smaller preview in a messaging app is not enough evidence that the recording itself is damaged.
A short capture checklist
- Decide whether the subject or camera needs to move.
- Give the important subject enough space in the frame.
- Check focus and exposure on that subject.
- Record a few seconds, then inspect the result.
- Keep the original before creating a sharing copy.
If the shot is static, a stable support can make it easier to maintain the composition. If movement matters, rehearse the route so you are not correcting the frame throughout the take.
An example: filming a picnic
Suppose you want a close view of someone pouring a drink. Start with the glass and hand in frame, rather than a wide view of the entire lake. Record a test while the hand moves. Check whether the glass remains visible and whether the bright water distracts from it. Changing your position may solve the problem before any editing is necessary.
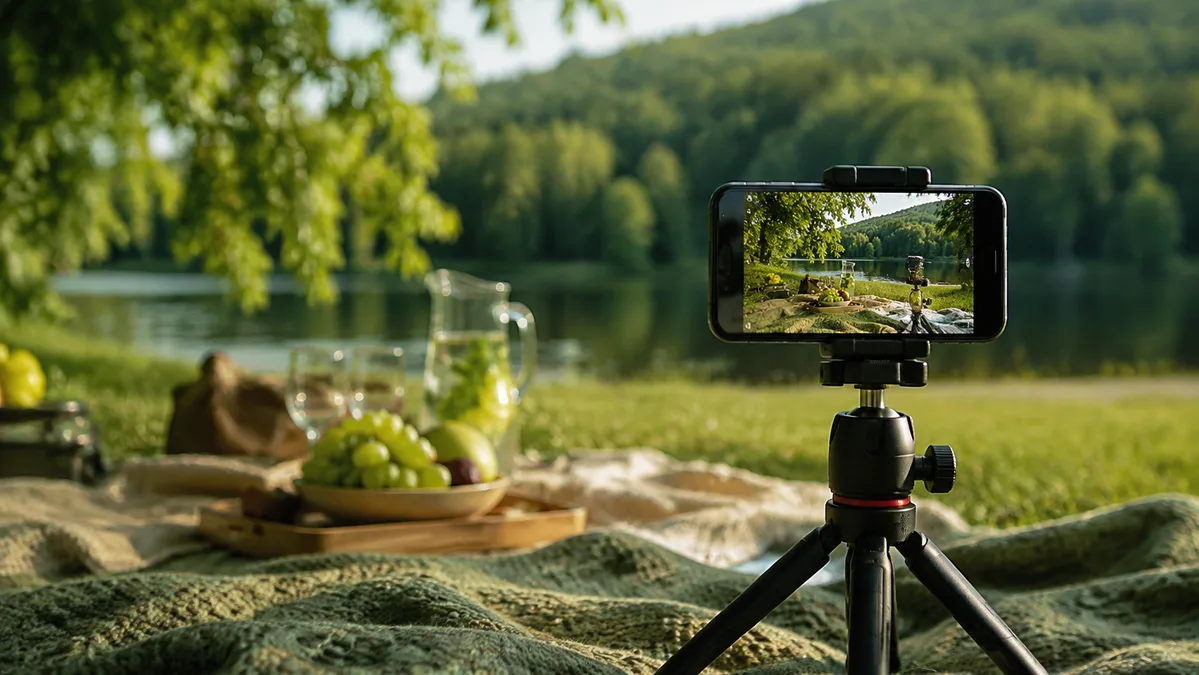
The illustration on this page is a scene example, not a phone benchmark or an enhancement result.
Check settings without chasing the largest number
Recording options depend on your phone and capture mode. Apple documents where supported iPhone recording formats and frame rates can be changed. Check the documentation for your own device instead of assuming every camera mode supports the same choices.
Choose settings you can store, edit and deliver comfortably. Make a short export in your chosen editor and view it on the intended screen. If it looks wrong only after sharing, inspect the delivery step before reworking the original.
Bring useful notes into the workspace
Dreamfeed can play a supported local video and let you choose a preset preference. Your file stays on your device; the page does not enhance or export it. Use a note such as “good focus, unstable ending” to decide what to address in your actual edit.
Put your next step into practice
Open the Dreamfeed workspace to try the sample controls. For another part of the decision, read old video restoration: preserve before you change.